
The Aprilaire 500 is a whole-house humidifier designed to provide efficient moisture distribution and improve indoor air quality. Its installation process is straightforward, ensuring optimal performance in various HVAC systems.
1.1 Overview of the Aprilaire 500 Humidifier
The Aprilaire 500 is a whole-house humidifier designed for efficient moisture distribution, improving indoor air quality. It features a built-in bypass damper, simplifying installation with fewer components. Versatile, it can be installed on either the supply or return plenum, accommodating various HVAC systems. Its labeled settings for summer and winter ensure seasonal adjustments are straightforward, enhancing user convenience and system performance.
1.2 Importance of Proper Installation
Proper installation of the Aprilaire 500 is crucial for safety, efficiency, and performance. Incorrect installation can lead to electrical hazards, improper humidity levels, and increased maintenance. It ensures compliance with local codes, prevents water damage, and maintains warranty validity. A qualified HVAC professional should always handle the installation to guarantee optimal functionality and avoid potential system malfunctions or safety risks.

Safety Precautions and Compliance
Ensure compliance with local codes and safety standards. Proper installation by a qualified professional is essential to avoid risks like electrical shock or system malfunction.
2.1 General Safety Instructions
Installation must be performed by a qualified heating and air conditioning contractor to ensure safety and proper function. Follow all safety precautions to avoid risks like electrical shock or system damage. Proper installation ensures compliance with local codes and prevents hazards. Always disconnect power before starting work. Failure to comply may void the warranty or result in unsafe operating conditions.
2.2 Compliance with Local Codes and Regulations
The Aprilaire 500 must be installed in compliance with all local, state, and federal codes. Adherence to these regulations is crucial for legal and safety reasons. Ensure that the installation meets all applicable standards to avoid potential issues. Compliance ensures the system operates safely and efficiently, protecting both the installer and homeowner from legal and financial consequences.
2.3 Electrical Safety Considerations
Ensure the Aprilaire 500 is installed by a qualified HVAC technician to avoid electrical hazards. The humidifier operates on a 24 VAC circuit and must not be connected to the transformer’s primary circuit. Always disconnect power before servicing. Follow all electrical safety codes to prevent shock or system damage. Proper wiring and connections are critical for safe and reliable operation.

Tools and Materials Required
Essential tools include a screwdriver, pliers, wrench, and drill. Materials needed are ductwork components, water supply lines, and electrical connectors for proper installation.
3.1 Essential Tools for Installation
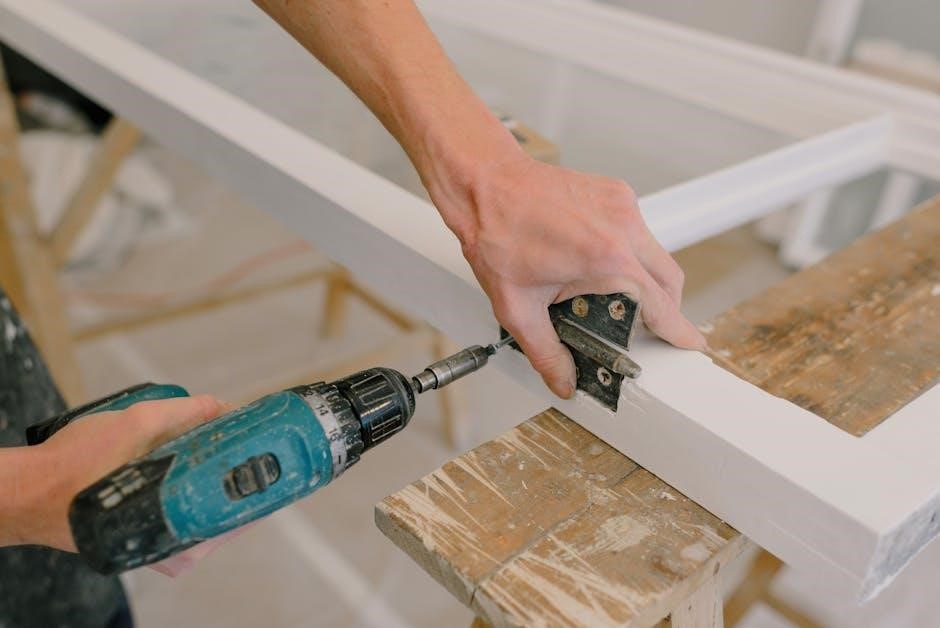
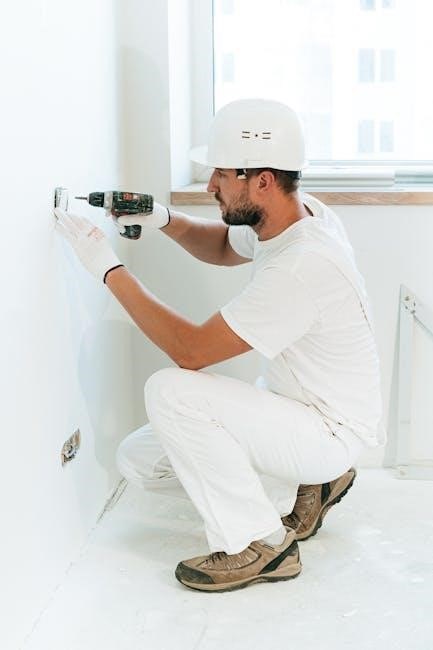
The Aprilaire 500 installation requires specific tools to ensure a smooth process. A screwdriver, adjustable wrench, pliers, and a drill are essential for mounting and connecting components. Additionally, a level ensures proper alignment, while a voltage tester verifies electrical connections. These tools help in securely fastening the unit, connecting ducts, and setting up the humidistat correctly for optimal performance and safety.
3.2 Necessary Materials and Components
The Aprilaire 500 installation requires specific materials, including a built-in bypass damper, installation template, water line, drainage tubing, and electrical connectors. The humidistat, mounting hardware, and water panel evaporator are also essential. Additional components like the bypass duct kit and solenoid valve may be needed, depending on the system configuration. Ensure all parts are included for a complete and functional setup.
Pre-Installation Steps
Pre-installation steps include selecting a suitable location, preparing the humidifier, and understanding the built-in bypass damper for proper setup and configuration.
4.1 Choosing the Installation Location
Choosing the right location for the Aprilaire 500 is crucial for optimal performance. It can be installed on either the supply or return plenum of a forced air system. Ensure proximity to a water supply and drainage system. Select a location with proper electrical access and avoid areas prone to freezing temperatures. Maintain clearances for airflow and service access. This ensures efficient operation and ease of maintenance.
4.2 Preparing the Humidifier for Installation
Before installation, unpack and inspect the Aprilaire 500 for any damage. Ensure all components, including the humidifier unit, bypass damper, and installation template, are included. Remove any protective packaging materials and verify the water panel and drain assembly are properly secured. Check that the built-in bypass damper is in the correct position for your system. Do not proceed if any part is damaged, as this could lead to improper function or safety hazards.
4.3 Understanding the Built-In Bypass Damper
The Aprilaire 500 features a built-in bypass damper, simplifying installation by reducing additional components. This damper directs airflow through the humidifier during heating and bypasses it during cooling or when humidity is not needed. It is labeled for summer and winter settings, ensuring proper operation without guesswork. Proper alignment and seasonal adjustment are crucial for optimal performance and energy efficiency.
Humidifier Installation Process
The Aprilaire 500 installation involves mounting the template, securing the unit, and connecting the bypass duct. Ensure all steps align with the provided template for accuracy.
5.1 Mounting the Installation Template
Mount the installation template on the ductwork to ensure proper alignment and spacing for the Aprilaire 500 humidifier. Use the provided screws to secure it firmly, following the manufacturer’s guidelines for accurate placement. This step is crucial for a seamless installation and optimal performance of the humidifier system. Ensure the template is level and aligned with the duct openings before proceeding.
5.2 Installing the Humidifier Unit
Once the template is securely mounted, carefully place the Aprilaire 500 humidifier unit onto the template, ensuring it aligns with the pre-drilled holes. Use the provided screws to fasten the unit to the ductwork, making sure it is tightly secured. Double-check that the humidifier is level and properly seated to ensure efficient operation. After installation, proceed to connect the bypass duct and other components as outlined in the manual.
5.3 Connecting the Bypass Duct
Attach the bypass duct to the humidifier’s outlet and the designated ductwork opening. Ensure the duct is properly aligned and securely fastened using foil tape or duct clamps. The built-in bypass damper simplifies seasonal adjustments, eliminating the need for manual modifications. Once connected, verify that the bypass duct is airtight to maintain system efficiency and prevent air leakage during operation.

Humidistat Installation
The humidistat (Part No. 4016) controls moisture levels and is typically installed in the cold air return duct. It must be installed by a qualified professional to ensure proper functionality and system integration.
6.1 Location and Mounting of the Humidistat
The humidistat should be installed in the cold air return duct, ensuring it is easily accessible for adjustments. It must be mounted in a location that provides accurate humidity sensing. The device should be level and securely fastened to avoid vibration. Typically, it is placed near the HVAC system for optimal performance and precise humidity control.
6.2 Wiring the Humidistat
Connect the humidistat using low-voltage wiring, ensuring all terminals are securely attached. Follow the color-coded wires for proper connections to the humidifier and HVAC system. The humidistat operates on 24V AC, so verify the voltage matches the system. Always refer to the wiring diagram in the manual to avoid errors. Improper wiring can damage the unit or compromise performance.
Water Connection and Drainage
Connect the humidifier to a water supply using a saddle valve and ensure proper drainage by installing a drain line and P-trap for condensation disposal.
7.1 Connecting the Water Line
To connect the water line, install a saddle valve on a nearby water supply line. Attach the provided water line to the humidifier’s inlet and secure it tightly. Ensure the tubing is free of kinks or blockages. Turn the water supply on gradually and check for leaks at all connections. Properly align the water line to avoid restricting flow and ensure stable operation. Always follow local plumbing codes and manufacturer guidelines.
7.2 Setting Up Proper Drainage
Proper drainage is crucial for the Aprilaire 500 to function effectively. Ensure the drain line is directed to a suitable location, such as a floor drain or utility sink. Install a trap to prevent backflow and odors. Check the tubing for kinks or blockages and secure all connections tightly. Regularly inspect the drainage system to ensure water flows freely and does not accumulate, which could damage the unit or cause leaks.

Electrical Connections
Ensure the humidifier is connected to a 24VAC circuit, as specified in the manual. Follow all local electrical codes and manufacturer guidelines for safe installation and operation.
8.1 Wiring the Humidifier
The Aprilaire 500 humidifier requires connection to a 24VAC circuit. Ensure all wiring is done by a qualified professional to avoid electrical hazards. Connect the humidifier to the humidistat, following the manufacturer’s wiring diagram. Verify proper polarity and secure all connections tightly. Do not connect the humidifier to a high-voltage circuit. Refer to the installation manual for specific wiring instructions and safety precautions to ensure correct operation. Always test the circuit before powering up the system.
8.2 Connecting to the Humidistat
Connect the Aprilaire 500 humidifier to the humidistat using low-voltage wiring. Ensure the humidistat is properly mounted and configured. Follow the wiring diagram in the manual to connect terminals correctly. Verify that the humidistat controls the humidifier’s operation based on set humidity levels. Test the connection to ensure proper communication between devices. This ensures accurate humidity control and system efficiency, preventing over or under-humidification. Always refer to the installation guide for specific wiring details and safety protocols.
Post-Installation Checks
Verify all connections, test humidifier operation, and ensure proper water flow. Check for leaks and confirm the system operates quietly and efficiently.
9.1 Testing the Humidifier Operation
After installation, turn on the humidistat and ensure the humidifier starts correctly. Verify the water panel is wet and the bypass damper opens. Check for proper airflow and moisture output. Monitor humidity levels using the built-in humidistat. Ensure there are no leaks or unusual noises during operation. Confirm all components function as intended for optimal performance.
9.2 Final System Inspection
Conduct a thorough inspection to ensure all connections are secure and properly sealed. Verify the humidistat is correctly calibrated and the bypass damper operates smoothly. Check for any water leaks or obstructions in the ductwork. Ensure the electrical connections are safe and meet local codes. Review the entire system to confirm it adheres to the installation manual’s guidelines for optimal functionality and safety.
Troubleshooting Common Issues
Identify and address common issues like no humidity output, water leaks, or electrical malfunctions. Inspect the water supply, drainage, and electrical connections to resolve these problems effectively.
10.1 No Humidity Output
If the Aprilaire 500 isn’t producing humidity, check the water supply, ensuring it’s turned on and properly connected. Verify the humidistat is set correctly and enabled. Inspect the electrical connections and ensure the bypass damper is in the correct seasonal position. Clean or replace the evaporator pad if clogged; Consult the manual or a professional if issues persist for optimal resolution.
10.2 Water Leakage or Excess Moisture
Water leakage or excess moisture may occur due to improper installation or high humidity settings. Check all water connections for tightness and ensure the drain line is clear. Verify the humidistat settings aren’t excessive for the space. If issues persist, consult the manual or contact a professional to address potential system imbalances or component malfunctions effectively.
Maintenance and Upkeep
Regular cleaning and part replacements are essential for optimal performance. Replace the water panel evaporator annually and inspect drain lines for blockages. Follow manufacturer guidelines.
11.1 Cleaning the Humidifier
Cleaning the Aprilaire 500 involves removing and washing the water panel evaporator and drain pan with mild detergents. Regularly inspect and replace the humidifier pad to prevent mineral buildup and bacterial growth. Ensure the unit is disconnected from power before cleaning to avoid electrical hazards and maintain efficiency. Follow the manufacturer’s guidelines for optimal results.
11.2 Replacing Parts and Filters
Regularly replace the water panel evaporator and check for mineral buildup. Inspect and replace the humidistat and drain tubing as needed. Refer to the manual for specific part numbers and replacement intervals. Ensure all replacements align with manufacturer guidelines to maintain efficiency and prevent issues. Proper maintenance extends the lifespan of the Aprilaire 500 and ensures consistent performance.
Successful installation of the Aprilaire 500 ensures improved indoor air quality and system efficiency. Always follow the manual for optimal performance and consult professionals if unsure.
12.1 Summary of Key Installation Steps
The Aprilaire 500 installation involves mounting the template, securing the unit, connecting the bypass duct, wiring the humidistat, and ensuring proper water and electrical connections. Always follow safety guidelines, verify compliance with local codes, and test the system post-installation for optimal performance and reliability.
12.2 Final Tips for Optimal Performance
- Perform regular maintenance, including cleaning and replacing parts as needed.
- Ensure the humidistat is accurately set to maintain desired humidity levels.
- Adjust the built-in bypass damper seasonally for optimal performance.
- Check water source quality to prevent mineral buildup or contamination.
- Schedule annual inspections by a qualified HVAC professional.
Leave a Reply
You must be logged in to post a comment.