The Schwinn IC3 manual is a comprehensive guide, detailing assembly, operation, and maintenance. Available as a PDF, it ensures safe and effective bike use. This essential resource helps users maximize their workout experience.
1.1 Overview of the Schwinn IC3 Indoor Cycling Bike
The Schwinn IC3 is a high-quality indoor cycling bike designed for effective home workouts. It features a sturdy steel frame, adjustable seat and handlebars, and a heavy flywheel for smooth pedaling. Ideal for spinning enthusiasts, it offers a realistic cycling experience. The bike is ergonomically designed to accommodate riders of various sizes and fitness levels. With its durable construction and user-friendly design, the IC3 is a popular choice for those seeking a reliable and efficient indoor cycling solution. It combines functionality and comfort, making it a great addition to any home gym.
1.2 Importance of Reading the Manual
Reading the Schwinn IC3 manual is crucial for safe and effective use of the bike. It provides detailed instructions for assembly, operation, and maintenance, ensuring proper setup and functionality. The manual highlights safety precautions to prevent injuries and explains how to customize the bike for optimal comfort. By following the guidelines, users can maximize their workout experience and extend the bike’s longevity. Familiarizing yourself with the manual helps troubleshoot common issues and ensures compliance with manufacturer recommendations, making it an essential resource for every IC3 owner.
Assembly and Setup

The Schwinn IC3 manual guides users through the assembly process, ensuring proper setup with required tools and hardware for safe and effective bike functionality.
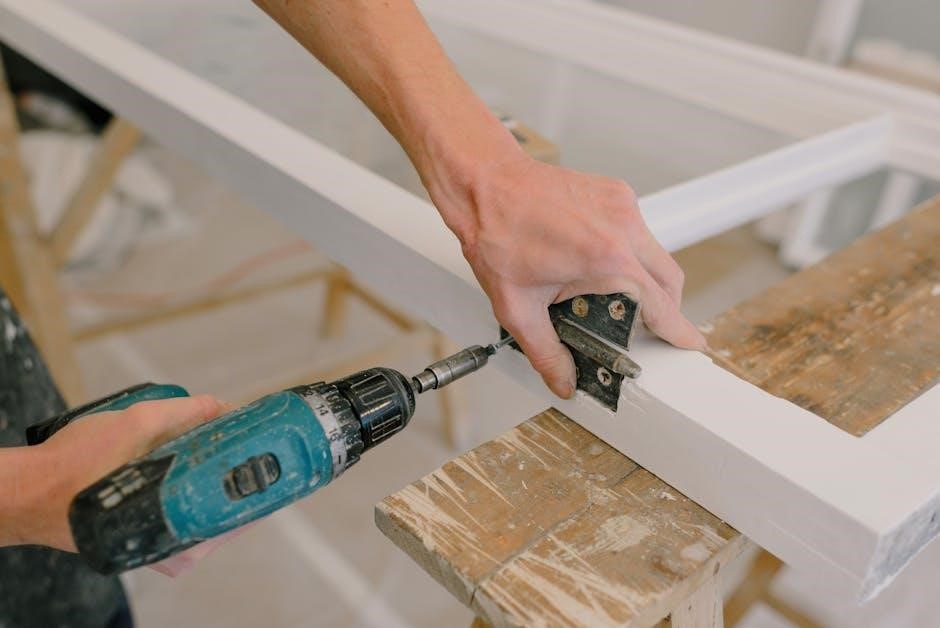
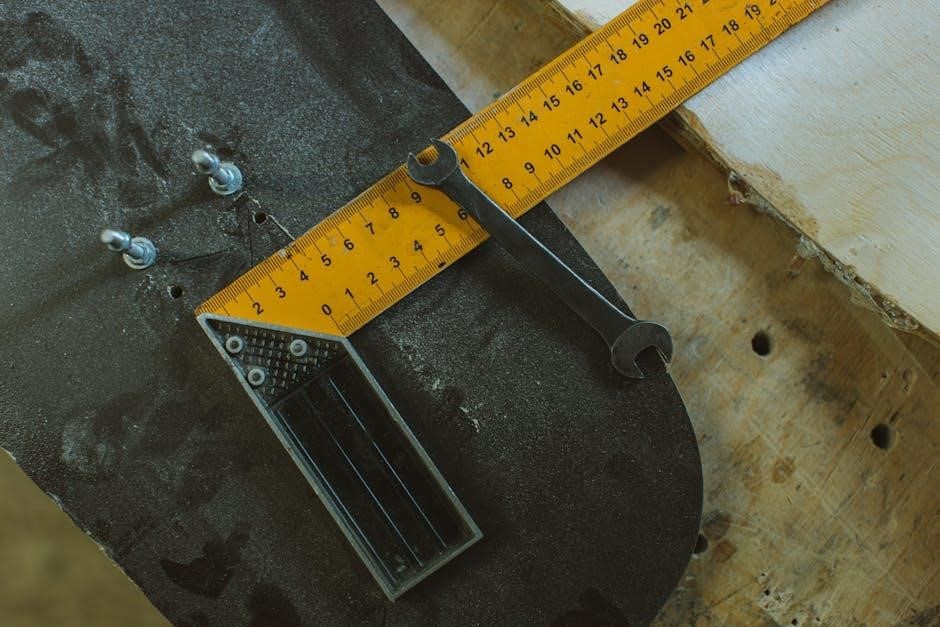
2.1 Tools and Hardware Required
Assembly of the Schwinn IC3 requires specific tools and hardware. Essential tools include Allen wrenches, screwdrivers, and a torque wrench for secure fastening. Hardware such as bolts, nuts, and pedals must be carefully organized. Refer to the manual for a detailed list to ensure no components are missing. Properly matching tools and hardware is crucial for safety and functionality. Always double-check the parts against the manual before starting assembly. Following these steps ensures a smooth and correct setup of your Schwinn IC3 Indoor Cycling Bike.
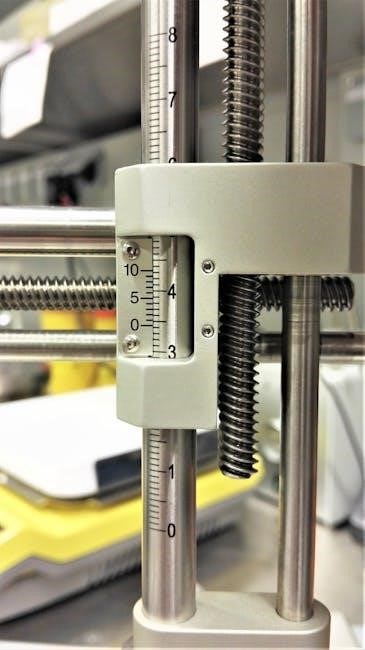
2.2 Step-by-Step Assembly Instructions

Begin by carefully unboxing and organizing all components. First, attach the handlebars to the frame using the provided bolts. Next, install the pedals, ensuring they are securely tightened. The seat should be mounted and adjusted to your preferred height. Connect the console and ensure all wires are properly secured. Finally, tighten all bolts and perform a safety check. Follow the manual’s visual guides for accurate alignment and torque specifications. Double-check each step to ensure stability and functionality before first use. This systematic approach guarantees a safe and efficient assembly process for your Schwinn IC3.
2.3 Pre-Assembly Checks
Before starting assembly, verify all components and hardware are included and undamaged. Cross-reference the parts list in the manual to ensure nothing is missing. Check for any shipping damage or defects. Familiarize yourself with the tools required, such as Allen wrenches and screwdrivers. Ensure the workspace is clean and large enough to accommodate the bike. Record the serial number for future reference. Review the manual’s torque specifications and visual guides to avoid errors. This preparation ensures a smooth and safe assembly process for your Schwinn IC3.

Features of the Schwinn IC3
The Schwinn IC3 combines performance and comfort, featuring a sturdy frame, adjustable resistance, and a heavy flywheel for smooth pedaling. Its ergonomic design enhances workout efficiency and user experience.
3.1 Key Components and Functionality
The Schwinn IC3 features a durable steel frame, a 40-pound flywheel, and a belt-driven system for smooth operation. It includes adjustable resistance knobs, SPD-compatible pedals, and a console for tracking workouts; The bike offers customizable fit with adjustable handlebars and a padded, ventilated seat. Its ergonomic design ensures comfort during intense sessions, while the heavy flywheel provides consistent momentum. These components work together to deliver a high-quality indoor cycling experience, catering to both fitness enthusiasts and serious cyclists.
3.2 Adjustable Features for Customization
The Schwinn IC3 offers multiple adjustable features to suit individual preferences. The handlebars and seat height can be customized to fit various rider sizes, ensuring comfort and proper ergonomics. Resistance levels are easily adjustable, allowing users to tailor workouts for different fitness goals. These features enable riders to personalize their cycling experience, making the IC3 versatile for both beginners and advanced cyclists. Proper adjustment ensures optimal performance and comfort during training sessions.
Operation and Usage
The Schwinn IC3 manual provides clear instructions for effective operation. Riders can adjust resistance levels and customize workouts for optimal performance. Regular maintenance ensures longevity and safety.
4.1 How to Use the Schwinn IC3 Effectively
To use the Schwinn IC3 effectively, start by adjusting the seat height and handlebars for proper ergonomics. Ensure the pedals are secure and resistance is set appropriately for your workout. Begin with a warm-up, gradually increasing intensity. Use the adjustable resistance knob to customize your ride, simulating real-world cycling challenges. Maintain consistent pedaling to maximize calorie burn and muscle engagement. Incorporate interval training or steady-state rides for variety. Always cool down post-workout to prevent muscle strain. Refer to the manual for safety tips and maintenance checks to ensure optimal performance and longevity of the bike.
4.2 Adjusting Seat and Handlebar Height
Proper adjustment of the seat and handlebar height is crucial for comfort and efficiency. To adjust the seat height, loosen the adjustment knob, set the seat to hip level when standing beside the bike, and tighten securely. For the handlebars, loosen the knob, adjust to a comfortable height that allows a slight bend in the elbows, and re-tighten. Ensure both are stable to avoid movement during use. These adjustments ensure proper ergonomics, reducing strain and enhancing your workout experience. Refer to the manual for detailed steps and safety precautions.

Maintenance and Troubleshooting
Regular cleaning and lubrication of moving parts ensure smooth operation. Check for loose bolts and worn components. Refer to the manual for troubleshooting common issues promptly.
5.1 Cleaning and Lubrication
Regular cleaning and lubrication are essential for maintaining the Schwinn IC3. Use a soft cloth and mild detergent to wipe down the frame, handlebars, and seat. Avoid harsh chemicals to prevent damage. Lubricate the flywheel and chains or belts periodically to ensure smooth operation. Refer to the manual for specific lubrication points. Always inspect for dust buildup and tighten any loose bolts. Proper maintenance extends the bike’s lifespan and ensures optimal performance during workouts. Keep the bike dry and store it in a cool, dry place to prevent rust or corrosion. Regular care enhances durability and riding experience.
5.2 Common Issues and Solutions
The Schwinn IC3 is durable, but occasional issues may arise. Common problems include squeaking noises from the brake system or pedals. To fix squeaks, apply lubricant to moving parts. If the flywheel feels uneven, check and tighten the bolts. For brake pad wear, replace them as instructed in the service manual. Belt tension issues can cause slippage; adjust according to the manual. If problems persist, contact Schwinn customer service for assistance; Regular checks and timely solutions ensure smooth performance and extend the bike’s lifespan. Always refer to the manual for troubleshooting guidance.

Additional Resources and Support
For further assistance, visit the official Schwinn website or authorized retailers for online resources, guides, and expert support to enhance your IC3 experience.
6.1 Downloading the PDF Manual
To access the Schwinn IC3 manual, visit the official Schwinn website or authorized retailers like Amazon. Navigate to the support section, select your IC3 model, and download the PDF. This manual covers assembly, features, and maintenance, ensuring safe and effective use of your indoor cycling bike. Additional resources, such as quick-start guides and troubleshooting tips, may also be available. Always refer to the official sources for the most accurate and up-to-date information to maximize your workout experience with the Schwinn IC3.
Download links:
Schwinn Official Website |
Amazon Support
6.2 Contacting Customer Service
For inquiries or assistance with your Schwinn IC3, contact customer service via phone, email, or live chat through the official Schwinn website. Visit https://www.schwinnfitness.com for support options. Ensure to have your serial number ready for efficient service. Schwinn’s team is available to address assembly questions, maintenance tips, or troubleshooting. For immediate help, use the live chat feature or refer to the support page. Always use official channels for accurate and reliable assistance with your IC3 indoor cycling bike.